If you've just started dipping your toes into makeup, you may feel overwhelmed and stumped on how to apply products. We've all been there. The best way to go about it is to disregard all the trendy makeup looks and hyped up products you see online. Instead, try to master the art of a basic makeup look first.
Knowing the basic makeup steps will give your routine a good foundation (pun intended). You'll also figure out which products you don't want to wear often or at all. Preferences in textures, finishes, and techniques will soon follow. Don't know where to start? Follow our step-by-step tutorial to know how to do it.
Prep, prep, prep your skin
(Photo from: Content Pixie via Unsplash)
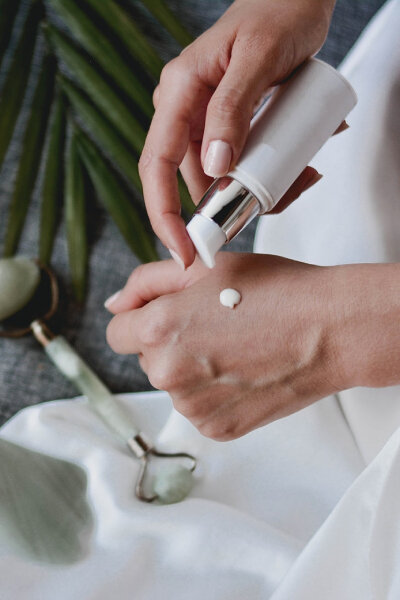
One thing you need to know about how to do a basic makeup look? The first non-negotiable step is to prep your skin well. What do we mean by this? You need to do your skincare routine. Whether that's a basic cleanser, toner, and moisturiser combo or the 10-step Korean skincare routine, you need to prep your face for wearing makeup. This will give you a good, blank canvas (softening any textured skin, preventing dryness, and helping control oil) for the makeup products you'll put on top of it.
Choose a base
(Photo from: Karly Jones on Unsplash)
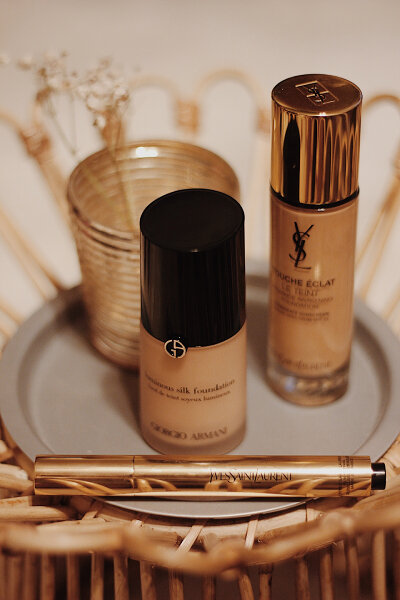
Next, it's time to apply your base products. This refers to foundations, skin tints, and CC creams — products that even out your skin tone and give your skin your desired finish (matte, radiant, or dewy). When it comes to choosing, it depends on your skin type and environment.
If you have oily skin, you may want to pick up a matte liquid foundation or powder foundation to help control shine. For those with drier skin, a dewy cushion foundation or hydrating skin tint might suit you more. Want to cover up visible discolouration? Consider picking up a medium to full coverage base product.
Pick a powder (or don’t)
(Photo from: Raphael Lovaski via Unsplash)
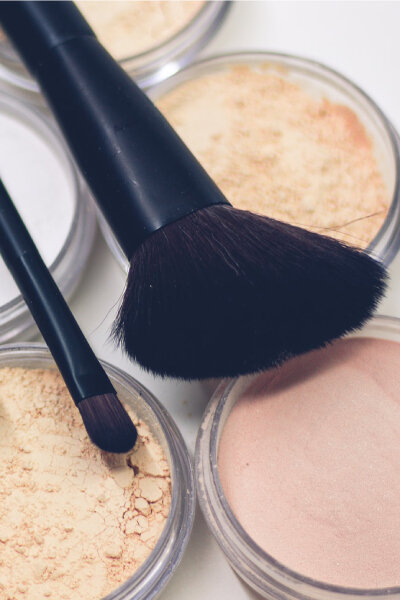
For normal to oily skin folks, having a powder is a must-have in a basic makeup look. Aside from setting the liquid products you've applied, powders can also help manage any mid-day shine and prolong the wear of your makeup.
Makeup powders also come in different finishes. Mattifying powders help minimise any oil and shine, so those with oily skin will love having them in their makeup kit. Illuminating powders have light-reflecting particles that make your skin look radiant and glowing.
The rule of thumb when it comes to powders is applying just enough where you need them: use mattifying powders only where you tend to oil up and place illuminating powders on the high points of your face (nose, forehead, and under eyes) to mimic how light naturally bounces off of your face. However, if you have dry skin, you may not need powder at all!
Add some blush or bronzer
(Photo from: Jess @ Harper Sunday via Unsplash)
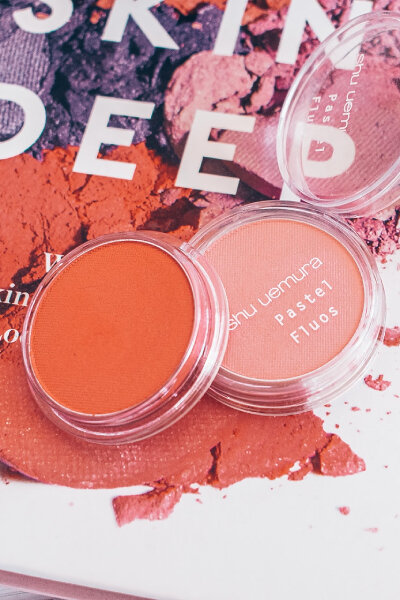
Since your base products all help even out your skin tone, add back some colour with a bit of blush or bronzer. For blush, placement is key. When applied on the apples of your cheeks (the "fat" that appears when you smile), it makes your face look rounder. Want a more lifted look? Apply your blush closer to your cheekbone and dab it up to your temples.
If you want to look less pale, you can add back some warmth to your skin with a little bit of bronzer. Bronzer’s meant to be placed where the sun hits your face — the tops of your cheeks, the bridge of your nose, your hairline, and maybe your jawline and neck to match the skin tone on your face. When in doubt, imagine a big number three that goes from your forehead to your cheeks to your jawline.
Always use a wide, rounded brush to apply and buff out powder bronzers. If you’re using a cream bronzer, it’s better to apply some on the back of your hand instead of directly on your face. This gives you more control over the pigment and placement of the product.
Fill in your eyebrows
(Photo from: Наталья Кленова via Unsplash)
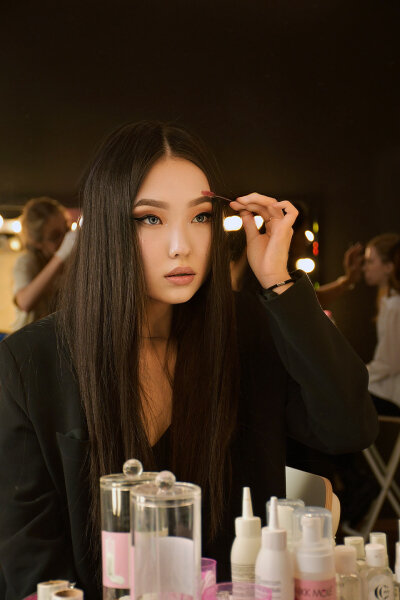
Your basic makeup look should involve filling in your brows because your eyebrows help shape and frame your face. Straight eyebrows, as seen in K-beauty, create a youthful appearance. Meanwhile, arched or lifted brows make your face look lifted and taut.
Always apply your brow products by creating your desired brow shape first and then filling it in. To avoid blocky-looking eyebrows, be very light-handed when applying the product closer to your nose. Don't forget to blend out any harsh lines too!
As for brow products, the most common are brow pencils, pens, and pomades. Eyebrow pencils have a solid waxy texture that allows you to easily fill in your brows. Eyebrow pens, on the other hand, have a fine brush tip for creating hair-like strokes. Eyebrow pomades have very waxy formulas — great for longevity and opacity — that you apply with a thin, angled brush.
P.S. If you want to try DIY-ing your brow grooming, know how to do Brow Mapping here.
Curl your lashes
(Photo from: Andrea Sánchez via Unsplash)
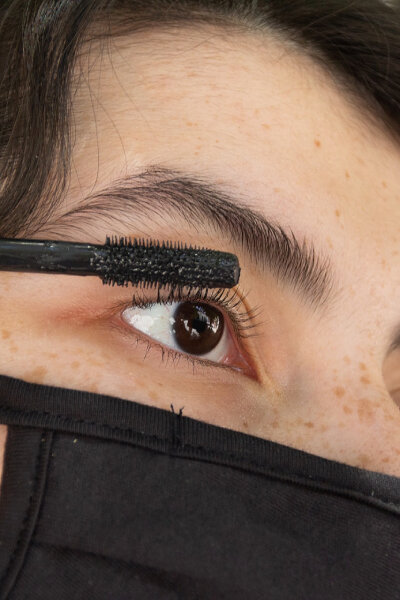
Complete your eye look by curling your eyelashes. This step will open up your eyes and effortlessly make you look bright and awake. Start by using an eyelash curler to manually curl your lashes. One trick to remember is to curl in sections. Clamp your lashes at the root and hold it for a few seconds. Then you move halfway up to the middle of your lashes — careful to not pull on any hairs — and clamp there too. You can also try gently heating up your eyelash curler with a hairdryer to make the curls last longer even without mascara.
Next, apply a few swipes of a long-lasting mascara. Start from the root of your lashes and then slowly close your eyes while gently wiggling up the mascara wand. Repeat until all your lashes are coated.
Mascaras come in different formulas that serve different purposes. Volumising mascaras have thick, waxy formulas that make your lashes look thick and dramatic. Lifting and curling mascaras help straight lashes defy gravity with their curved wands and lightweight formulas. Volumising and curling mascaras can also be waterproof, which is great for those who have watery eyes or active lifestyles.
Finish it with a lippie
(Photo from: Catarina Lopes via Unsplash)
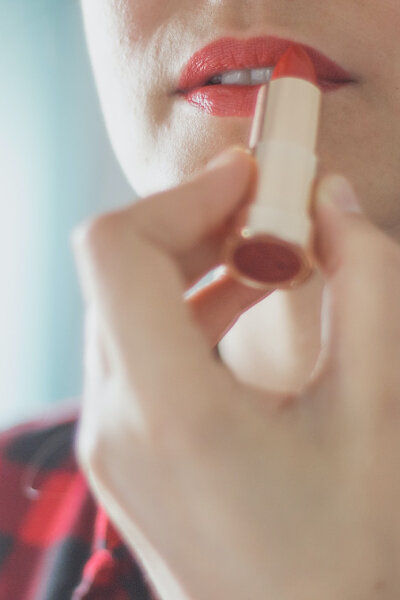
The last step to your basic makeup look is applying your lip product. This can either be a bullet lipstick, liquid lipstick, tinted balm, lip tint, lip gloss, or lip oil. What's the difference between all of them? Let us break it down for you.
The classic bullet lipsticks have creamy formulas that come in matte, satin, or velvet finishes. Meanwhile, liquid lipsticks will have the same finishes in a more fluid texture; matte liquid lipsticks tend to be longer lasting than bullet lippies.
For makeup minimalists, you may prefer tinted lip balms that have sheer colour and more lip-caring benefits. A more opaque option would be lip tints that have more watery formulas and are transfer-proof. If you prefer a more luscious lip look, you can apply a lip gloss instead. Lip oils fall between lip glosses and balms, as these will have both the lip-caring ingredients and the high shine finish of the two.
Colour matters too! Pink and coral lippies are great for everyday makeup looks, since these hues are close to our natural lip colours and enhance them. Meanwhile, deeper colours such as red, mauve, and plum are perfect for statement-making lip looks.
Once you've chosen your lippie, start by applying it from your cupid's bow (the middle of your upper lip) and filling your lip outwards. Move to your lower lips, starting from the middle and working your way out. Clean up any edges with a cotton bud or lip brush and remove any excess product by dabbing tissue between your lips to prevent lip stains on your teeth.
That's your template for a basic makeup look! Once you've found your footing in your likes and dislikes, you can start exploring other techniques such as overlining, cat-eye eyeliners, contouring, soap brows and more.
(Cover photo from: Наталья Кленова via Unsplash)
Check out these bold beauty trends we spotted at Paris Couture Week.
Comments, questions or feedback? Email us at [email protected].


.jpg)


