When was the last time you made a piece of clothing? We’re guessing the answer is a long time ago — possibly back when you’re still taking home economics classes in school — or never. The convenience and variety that fast fashion offers simply doesn’t inspire one to painstakingly make their own clothes. But that changed when the pandemic hit. Maybe it’s because we have more time on our hands. An interest in sewing experienced a spike. Even YouTube’s fashion trending page, which was previously dominated only by fashion shows, are now featuring sewing videos.
If you want to pick up this hobby, one of the easiest pieces that you can start working on is the pinafore dress — a sleeveless dress with an open back that’s designed to be worn over a blouse. Pinafores are very versatile; they can be worn as part of a sophisticated ensemble ala Beth in Queen’s Gambit or as a fab sheer piece like the one in Simone Rocha’s F/W 2021 collection. It’s also fitting for casual looks as seen in cottagecore aesthetic-inspired outfits.
It’s truly worth spending the time and effort to sew one. Plus, how cool would it be to wear clothing that you made yourself? Now, without further ado, here’s how to make your own pinafore dress. Trust us, it’s easier than you might think.
First, choose your dress pattern

Choose wisely. (Photo from: Olesia Buyar via Unsplash)
Before anything else, you should decide which dress pattern to follow. This will help you decide how much fabric you need to buy and what kind would go well with the design. Your first pinafore option is the apron-like style which features a square-shaped top and a criss-cross open back. What’s nice about this is you can add trimmings like daisy eyelets and, because the bodice part is more “spacious”, it won’t look awkward. If you’re looking to emulate cottagecore outfits, this pattern is a good choice. It’s also the most simple pinafore pattern, so it’s ideal for beginners.
If you’re not into the apron look and prefer a sleeker style, then you may fancy the 1960s-inspired v-neck pinafore like this one from Etsy. This is a tiny bit more complex to sew because you’ll need to work with more pieces but still doable for a beginner.
Additional tip: If it’s available, look for dress patterns that are ideal for your body size and type. Some pattern sellers offer petite and plus size patterns. You can also request personalised dress patterns if you’re willing to pay extra.
Next, pick a fabric

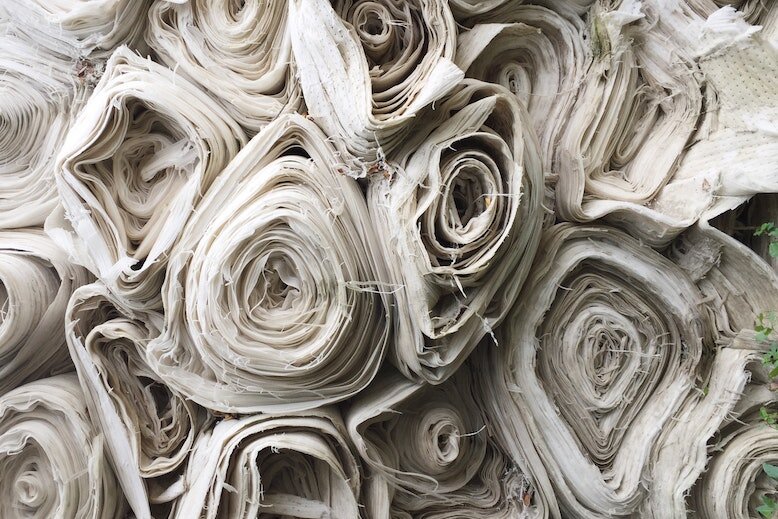
Sturdy fabrics are best for beginners. (Photo from: Ethan Bodnar via Unsplash)
Walking into a fabric store is like traversing a new world. More often than not, it’s chaotic and overwhelming to navigate so you have to narrow down your search. When picking a fabric for your pinafore dress, the first thing to consider is your sewing skills. Some fabrics are harder to work with than others. Flimsy ones with a shiny sheen like silk and polyester tend to get wrinkled by stitches ( from hand or machine sewing), making them very tricky to handle. If you’re a beginner, something sturdy like linen or cotton or a fabric blend of the two is best. Once you’ve decided on the kind of fabric, you can move on to picking the colour and design. Sometimes, what looks good on a fabric roll might not look that nice when worn, so make sure that you place fabrics against your body like how you would in dressing rooms to gauge whether they look good on you or not.
For pinafores, the best bets are solid colours or patterns that can work even when not aligned like plaids and florals. Patterns that must look continuous to make sense (like those with words or cartoon prints) are harder to work with.
Additional tip: Whatever cloth design you choose, always buy an additional half a yard of fabric for safety. If you end up not using it, you can still make it into pockets or inner linings for your pinafore.
Pin the patterns on the fabric and start cutting

Look for the grainline. (Photo from: pina messina via Unsplash)
Before you start pinning patterns on fabric, you first need to identify the grainline. To find it, look for the edge of the fabric that is smooth and not frayed — parallel to it is the grainline. You must pin the dress patterns along the grainline.
Once you got that sorted out, it’s time to start. Fold the fabric in half and start pinning the dress patterns. For this, you can use simple sewing pins. Do not attempt to use paperweights to hold the patterns in place unless you’re experienced because there’s a risk that it can be displaced. When everything is in place, cut the cloth carefully.
Additional tip: A step that you can take to prepare your fabric is to wash it. Some types of cloth shrink after laundering and that will affect how they fit. You can eliminate that risk altogether and just wash your fabric beforehand.
Start sewing the skirt first
The bodice may look easier to sew but you have to start with the relatively harder part first — the skirt. The bottom part will be the base for your top so it’s important to get this right from the get-go. All you need to do is sew together the skirt. Then, make sure that it fits you. If not, do the adjustments. Next, work on securing the hems to polish any frays. If you prefer, you can add zippers or buttons but for pinafores, this isn’t really necessary.
YouTuber April demonstrates how to sew a pinafore skirt with lining.
Additional tip: Expect to do adjustments here and there with the skirt. It’s not going to fit you right the first time around so be patient. It’s a trial and error process. Some use a mannequin to make the process easier; you can also try this if you prefer.
Sew and attach the top part to the skirt
Now to the easier part: sew the bodice of the pinafore dress from your pattern (either the cotttagecore apron or the v-neck type) and simply attach the ends to the skirt. You don’t need to worry about putting a lining for this part because you’ll wear a blouse underneath it anyway. Again, make sure that it fits you perfectly and be patient with adjustments.
YouTuber Hilly shows how she handsewn the bodice part and added trimmings.
Additional tip: You can leave the pinafore parts as separates. Instead of attaching the bodice and the skirt, you can just leave it be. Now, you can mix and match the skirt and top with your other clothes.
And that’s it! Not at all complicated as you may think, right? You just need to do some additional adjustments to make it a perfect fit. Will you try making your own pinafore dress with these tips?
(Cover photo from: pina messina via Unsplash)
Next, find out the best accessory for every star sign.
Comments, questions or feedback? Email us at [email protected].


